
I am gearing up to study for the Fortinet NSE4 certification. I discovered that I have access to Fortinet images through my employer that I can use to lab with. I wanted to add the FortiGate image to CML to lab with and while searching the Internet I was unable to find a straight forward way to do this. I took information from several sources and figured that I’d write up a guide for anyone that would want to do this in the future to follow.
What you will need:
1.) CML. I am running CML Version 2.2.3 in VMware Workstation on my Desktop PC.
2.) A Fortinet FortiGate image. I am using FortiGate-VM64-KVM v7.2.1
I’m going to assume that you have already increased the storage for CML so I will not go over that here. If there is demand I can create a separate guide on how to do that.
First you need to copy the FortiGate qcow2 to CML. Use the following command:
scp fortigate.qcow2 admin@ipofcml:
Don’t forget the : at the end. You may be prompted to accept an SSL fingerprint here. You will also need to enter your CML’s admin password when prompted. One thing that tripped me up for a second was that, at least on my Windows 11 PC, nothing I typed after the SCP command showed up. Even typing “yes” to accept the SSL fingerprint didn’t show up. It still accepted what I was typing though.
Once the FortiGate qcow2 finishes uploading to CML log into the CML GUI. From there go to Tools>Node and Image Definitions.
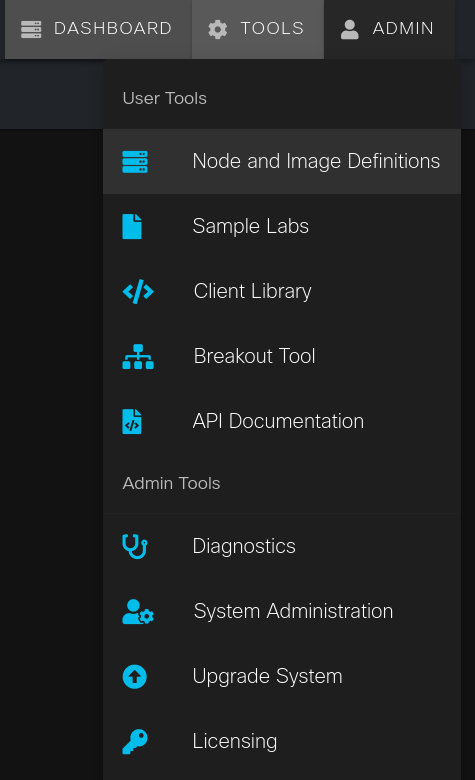
From here click on Add under Node Definitions.

I used the YAML file from the below link to fill in all of the information.
https://github.com/CiscoDevNet/cml-community/tree/master/node-definitions/fortinet/fortigate
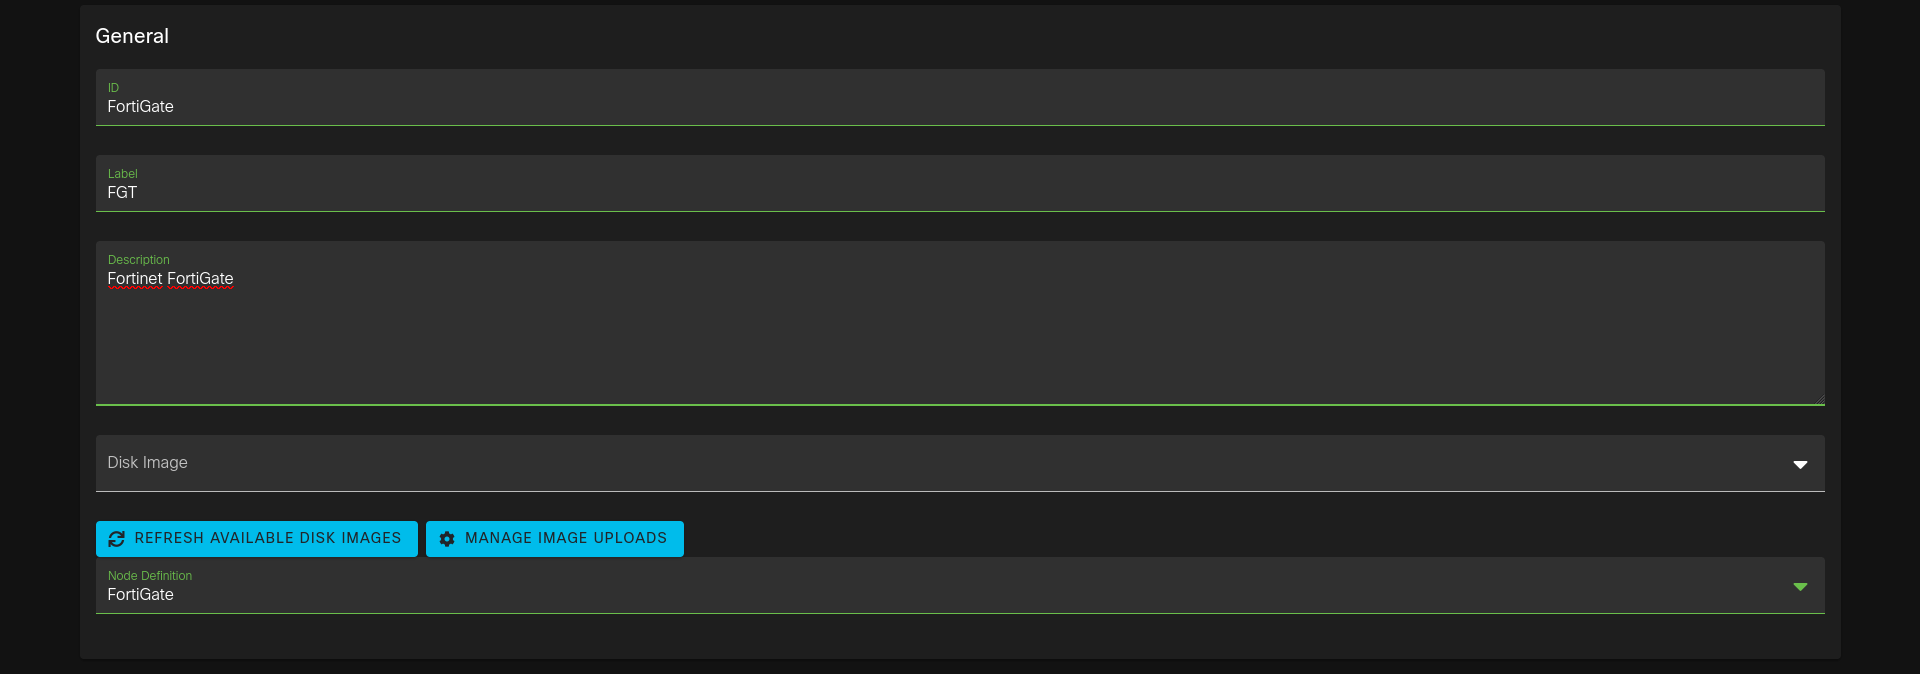
For the lazy like myself here is the information I entered:
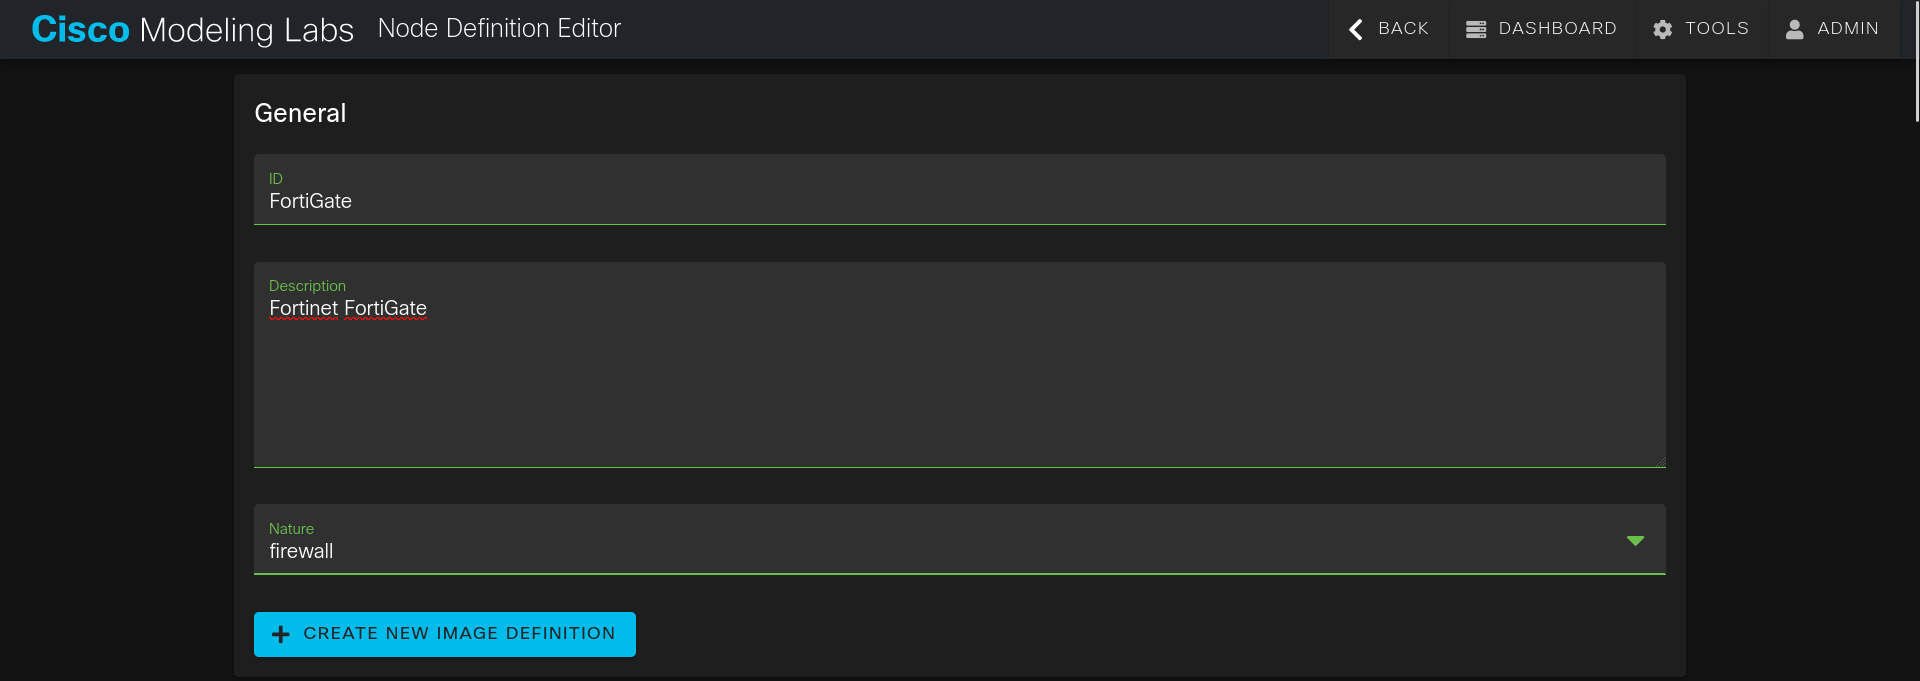
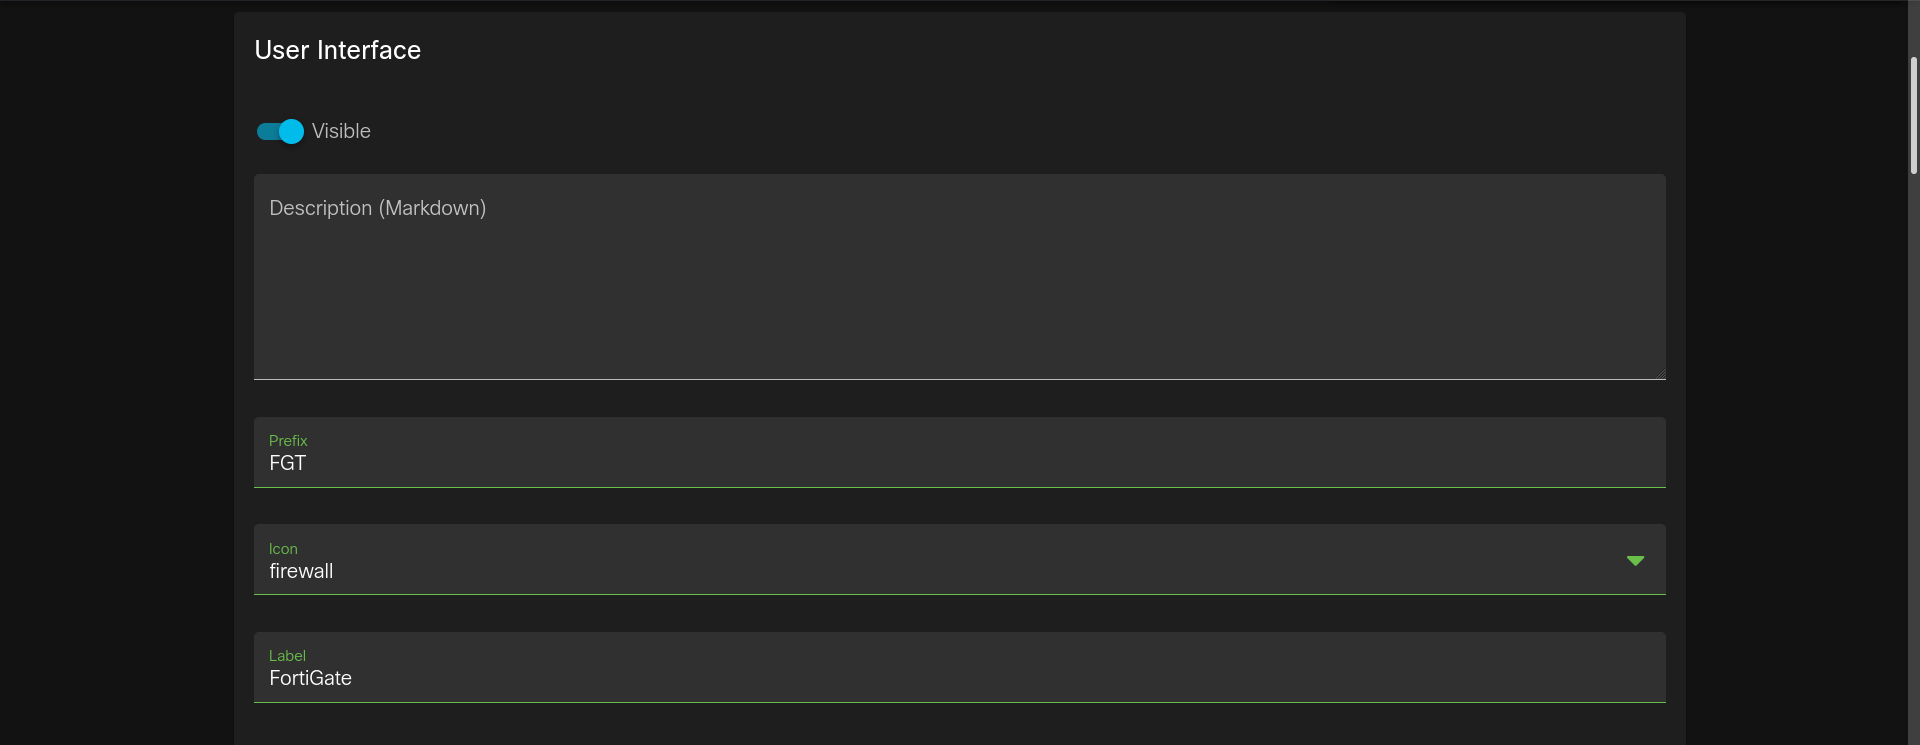
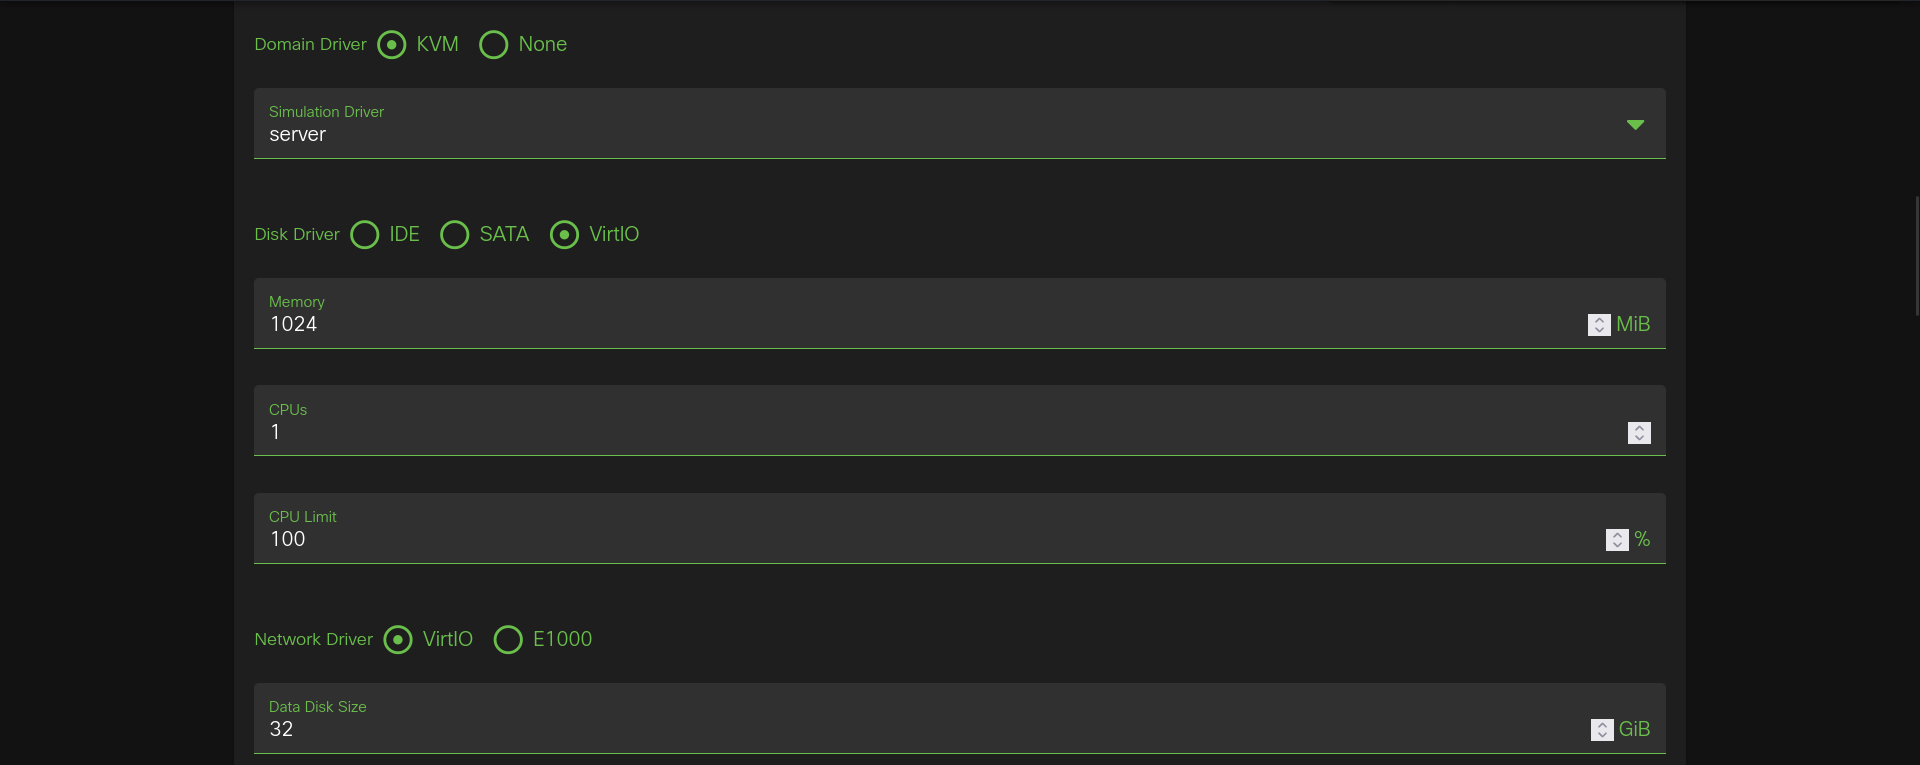
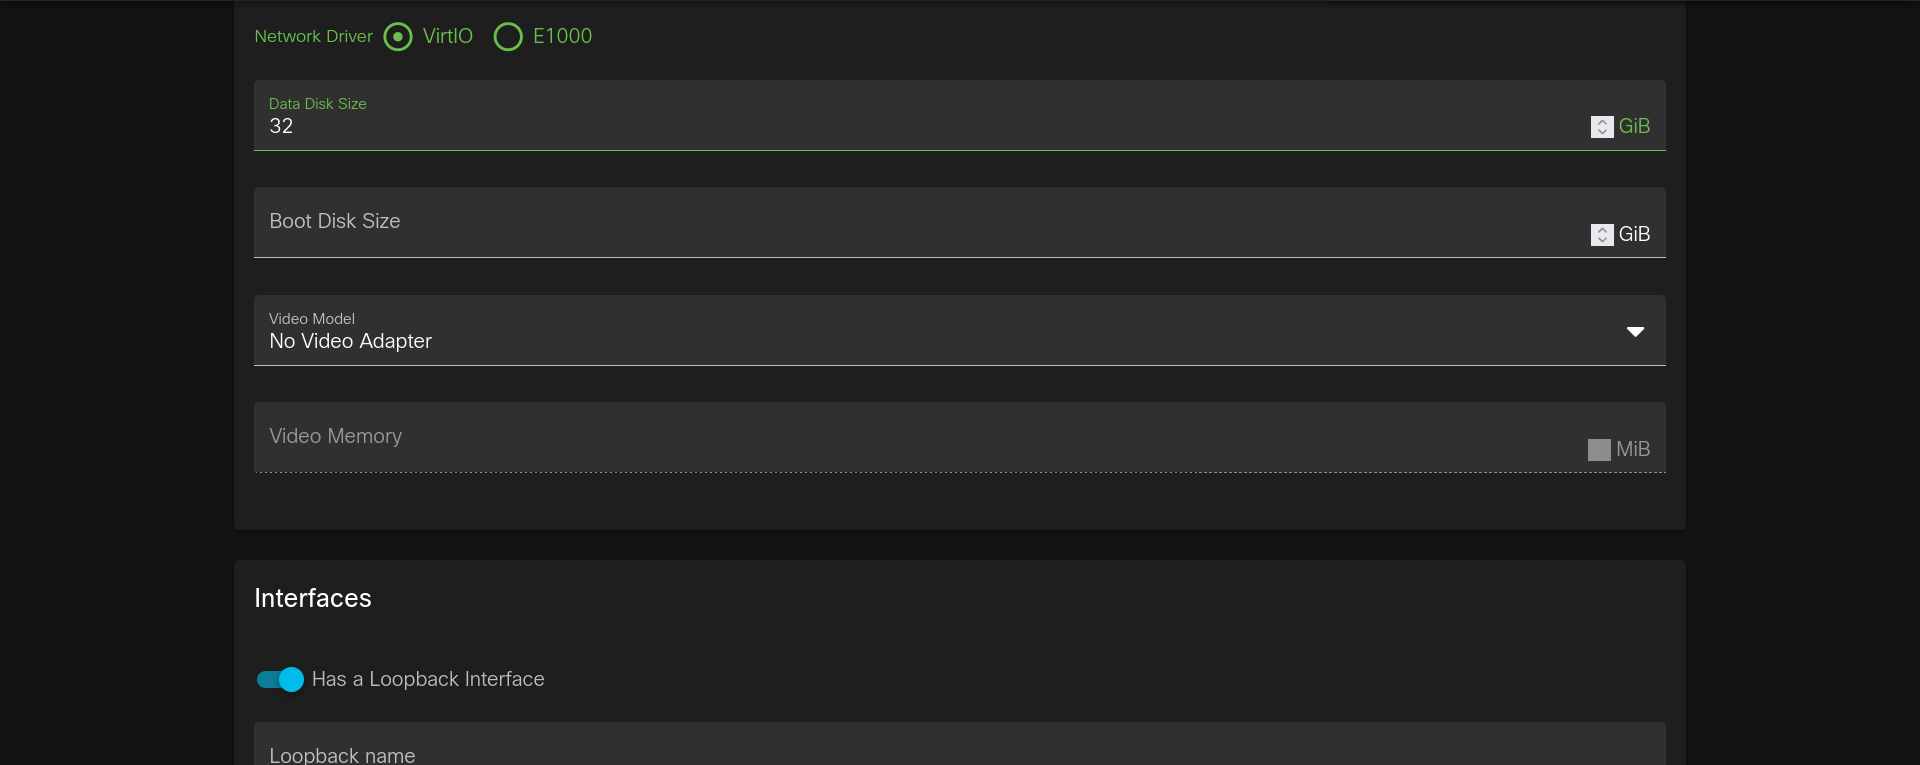
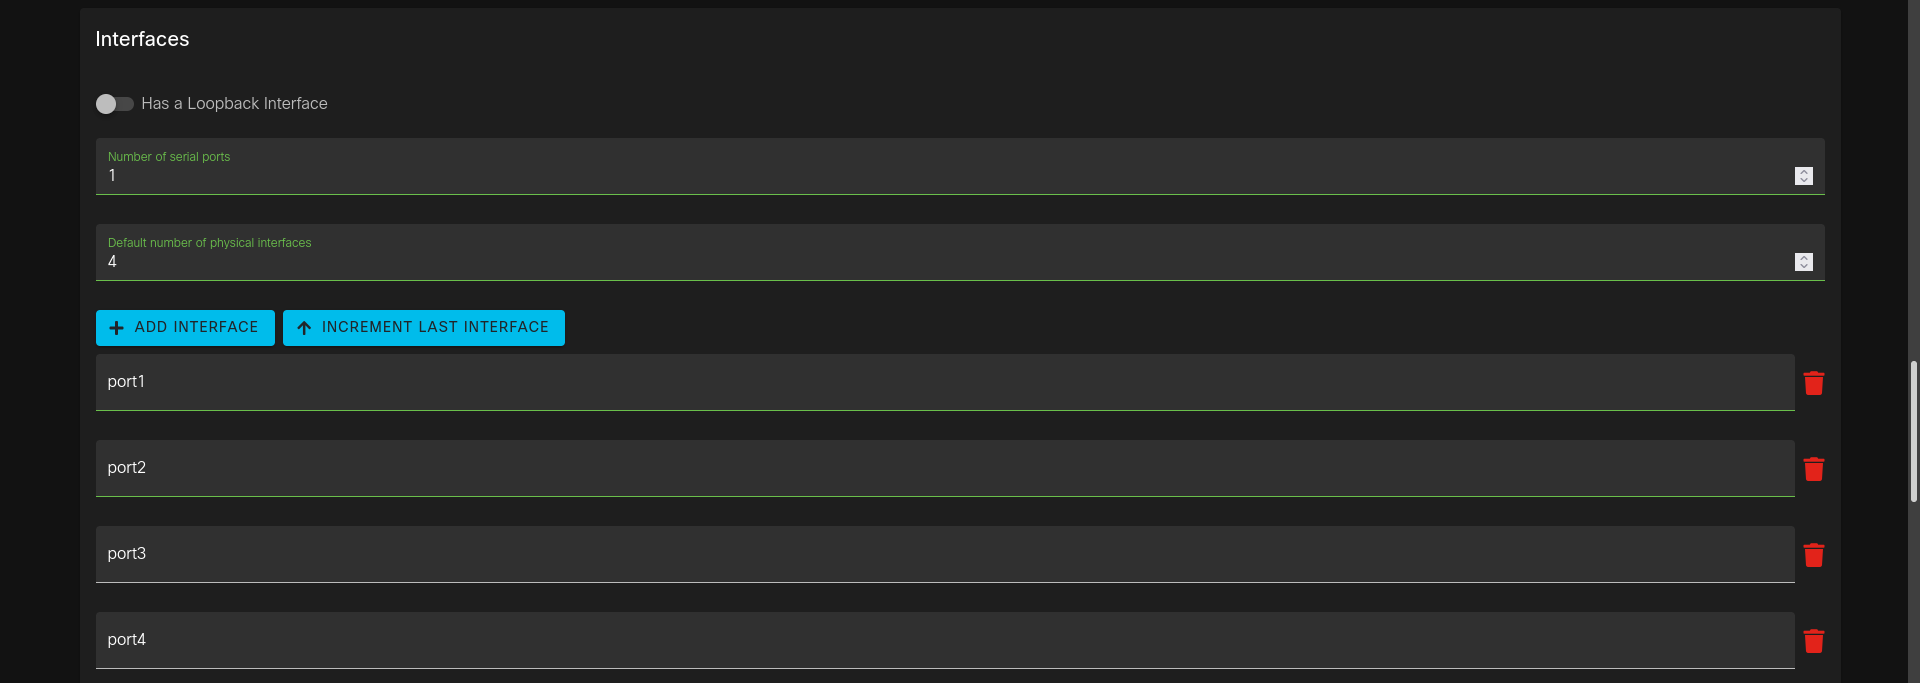
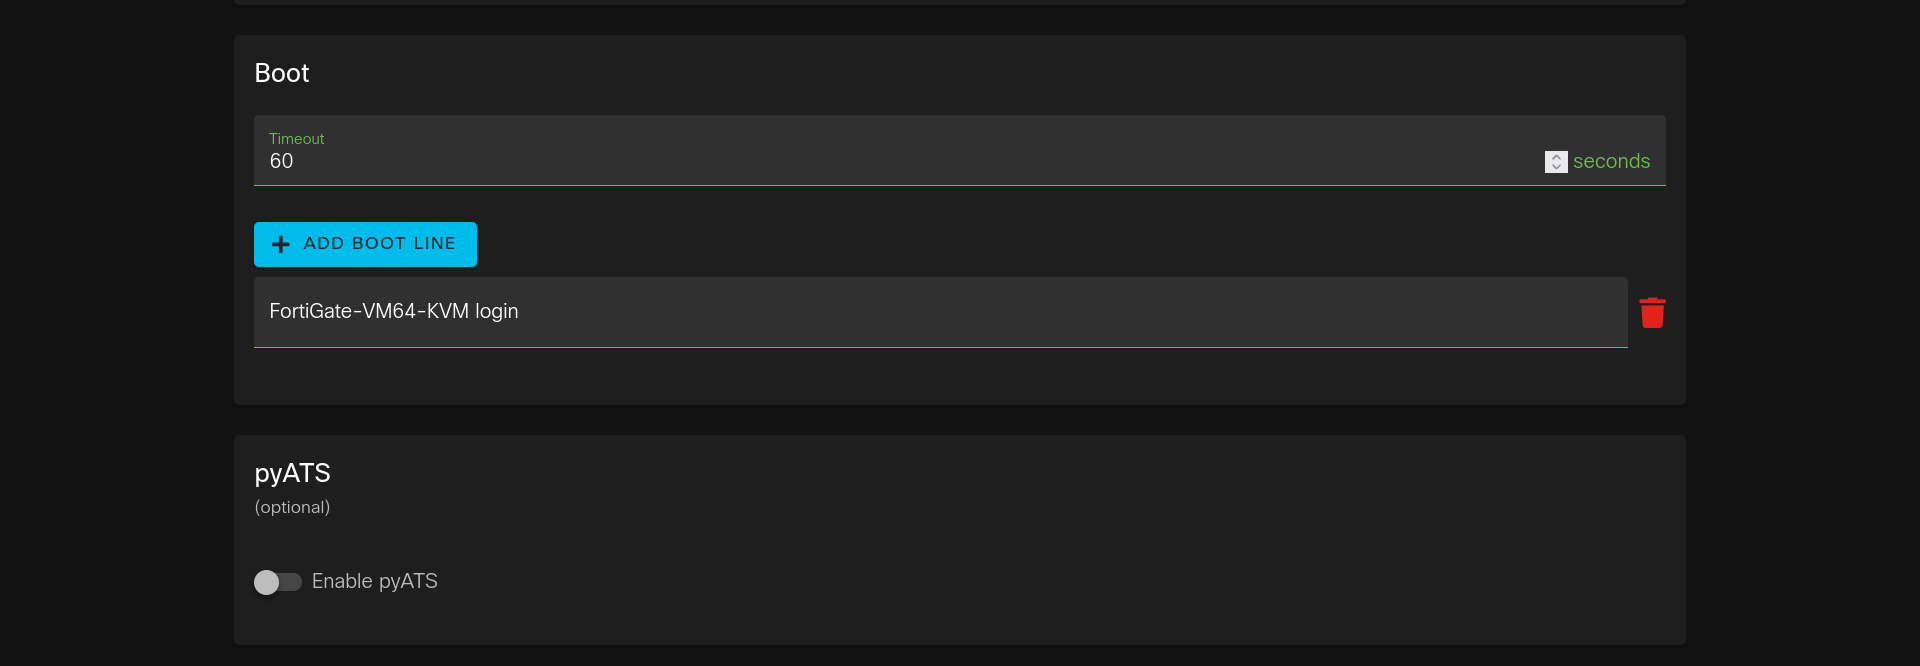
Once finished click Create at the bottom.
Next go back to Tools>Node and Image Definitions, click on Image Definitions at the top, then click Add.

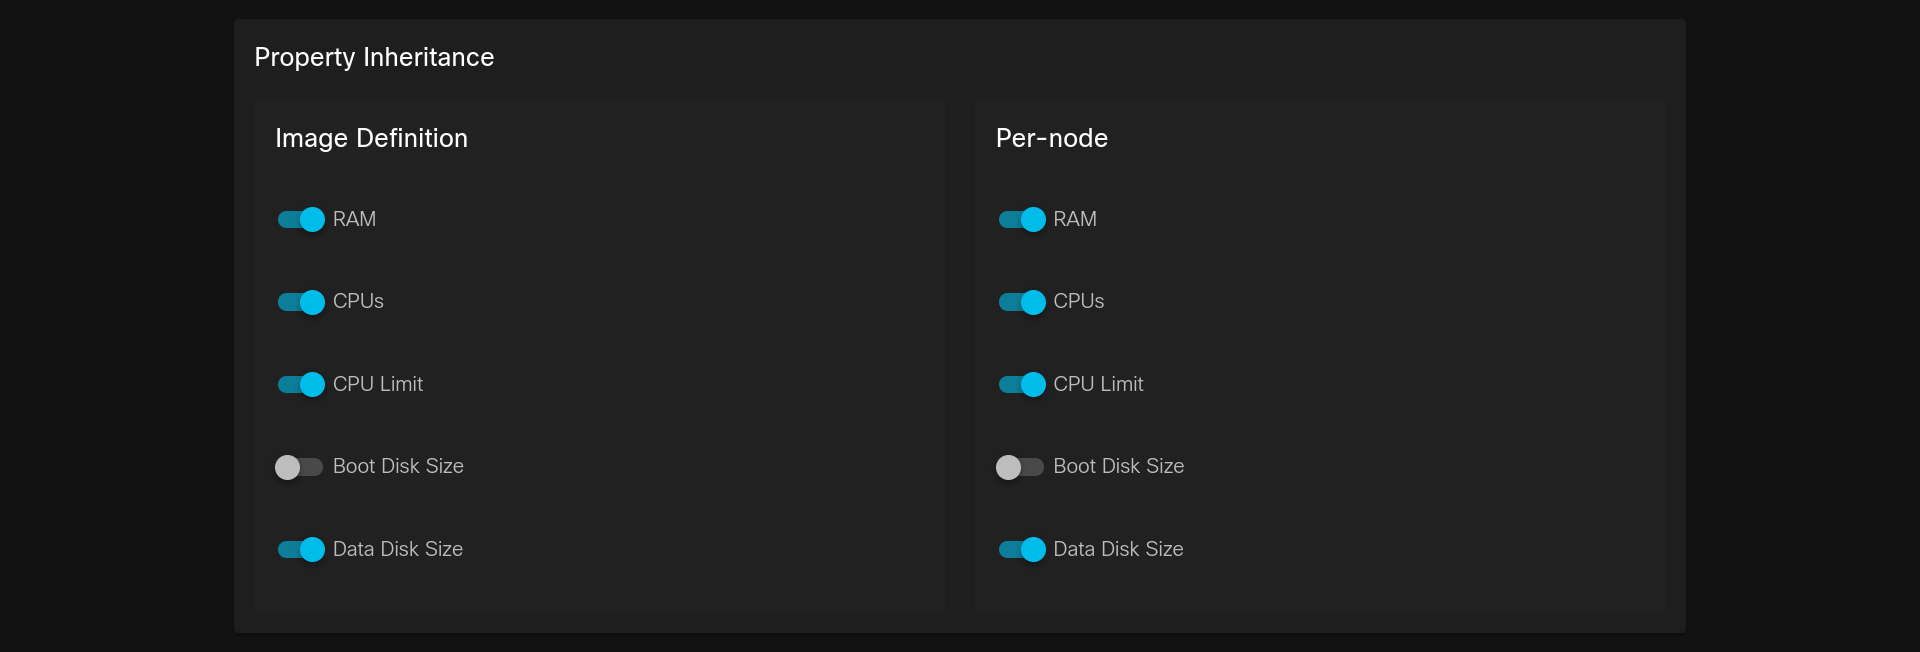
Fill out the information like I have below. Be sure to choose your fortigate.qcow2 image under Disk Image and the Node Definition you created earlier under Node Definition.
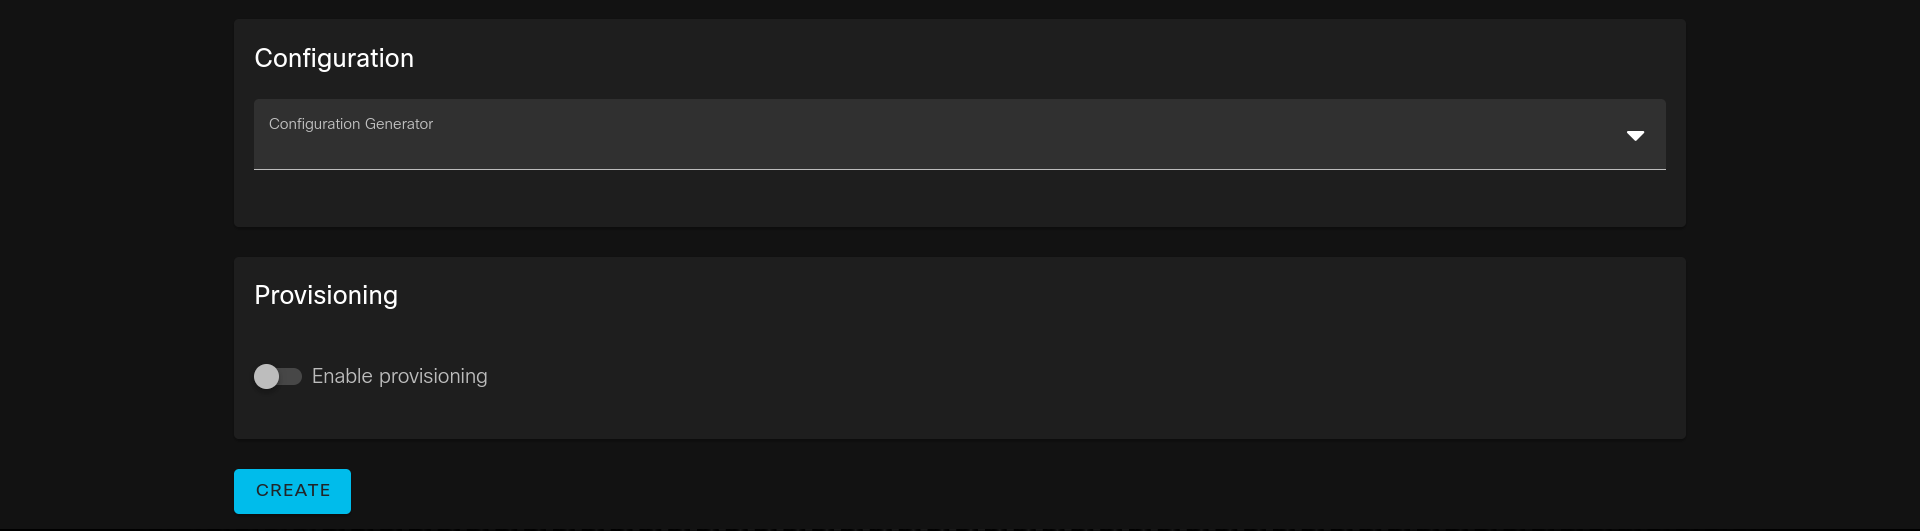
You can leave the Linux Native Simulation section blank and click on Create Image Definition at the bottom.

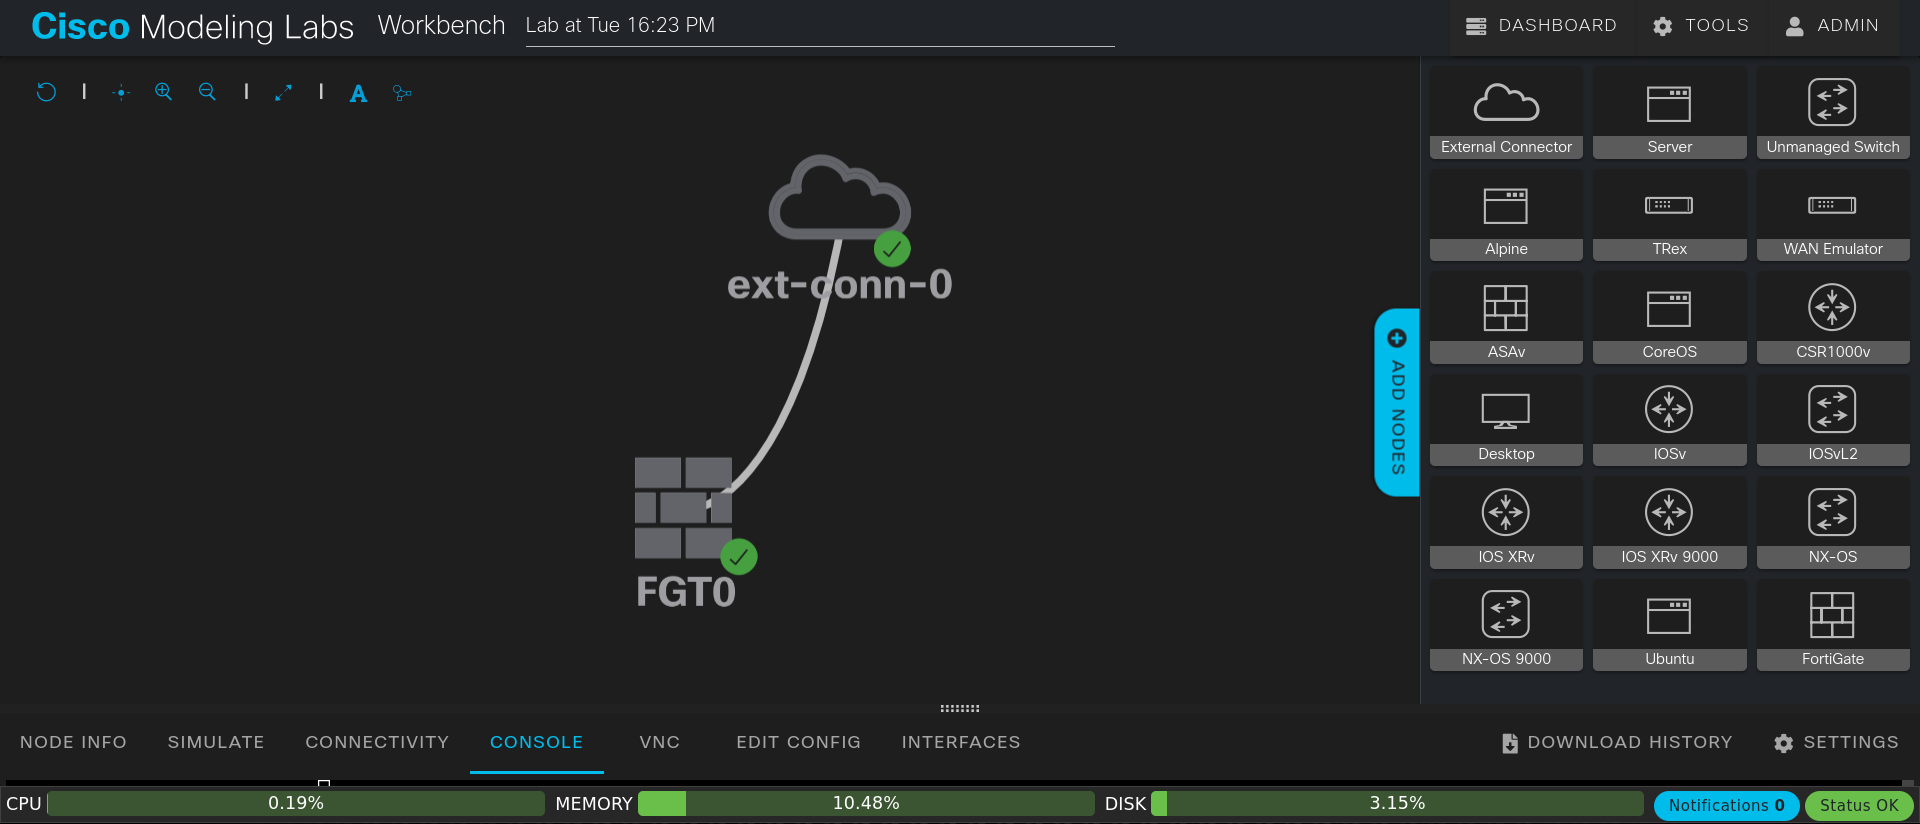
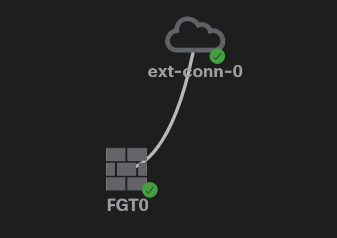
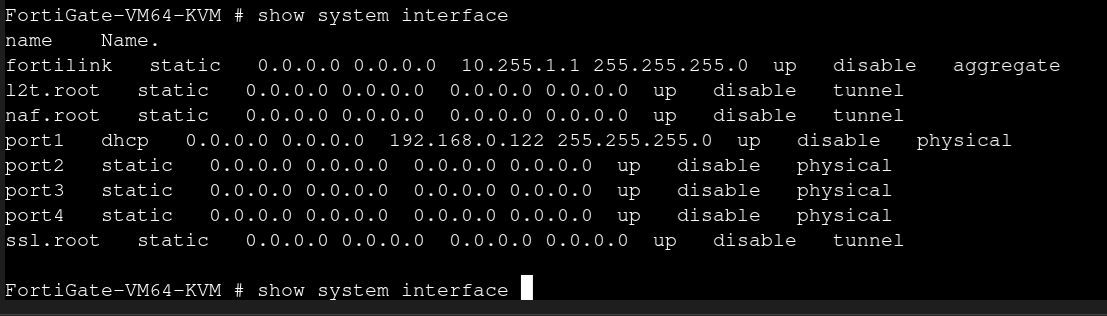
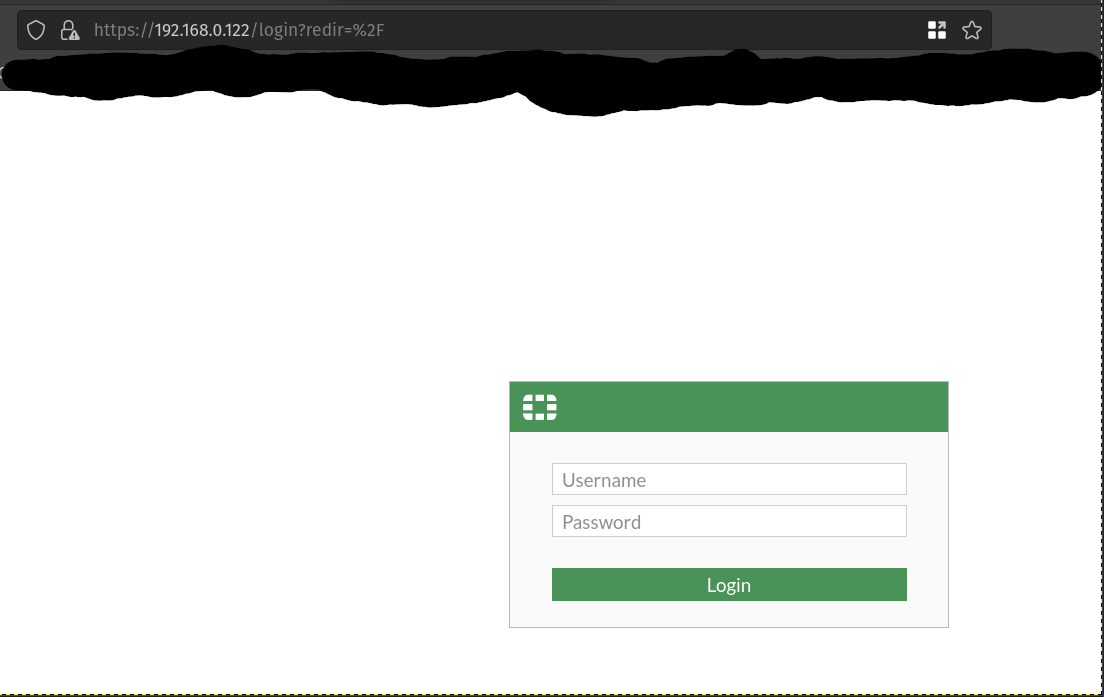
That’s it! Now navigate back to the Dashboard, open a new lab, and you should have the FortiGate device in the Add Node list on the left. The default login is “admin” and there is no password. It will force you to set a password when you first log in.

Until next time…
